
With another football season just weeks away and the tailgating menus in our thoughts... I wanted to repost our popular Championship Chicken Wings and wing sauce (with photo tutorial!) These are always a hit, and always gone before game time.
| ||||||||||||||||||||||||||||||||||||||||

| ||||||||||||||||||||||||||||||||||||||||

| |||||||||||||||||||||||||


| ||||||||||||||||||||||


| |||||||||||||||||||||||||
| ||||||||||||||||||||||
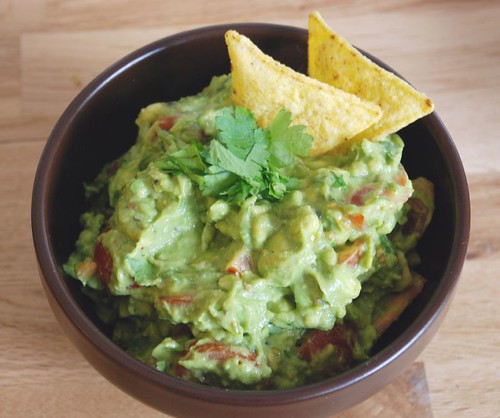 |
| Homemade Guacamole |
| ||||||||||||||||||||||
 |
| Steak Marinade |
 |
| Buffalo Chicken Dip Begins! |
 |
| Stir as the cream cheese heats. |
 |
| In the end you should have a nice creamy mixture. |
 |
| I find it best to serve in a slow cooker to keep it warm. It doesn't last long.... |

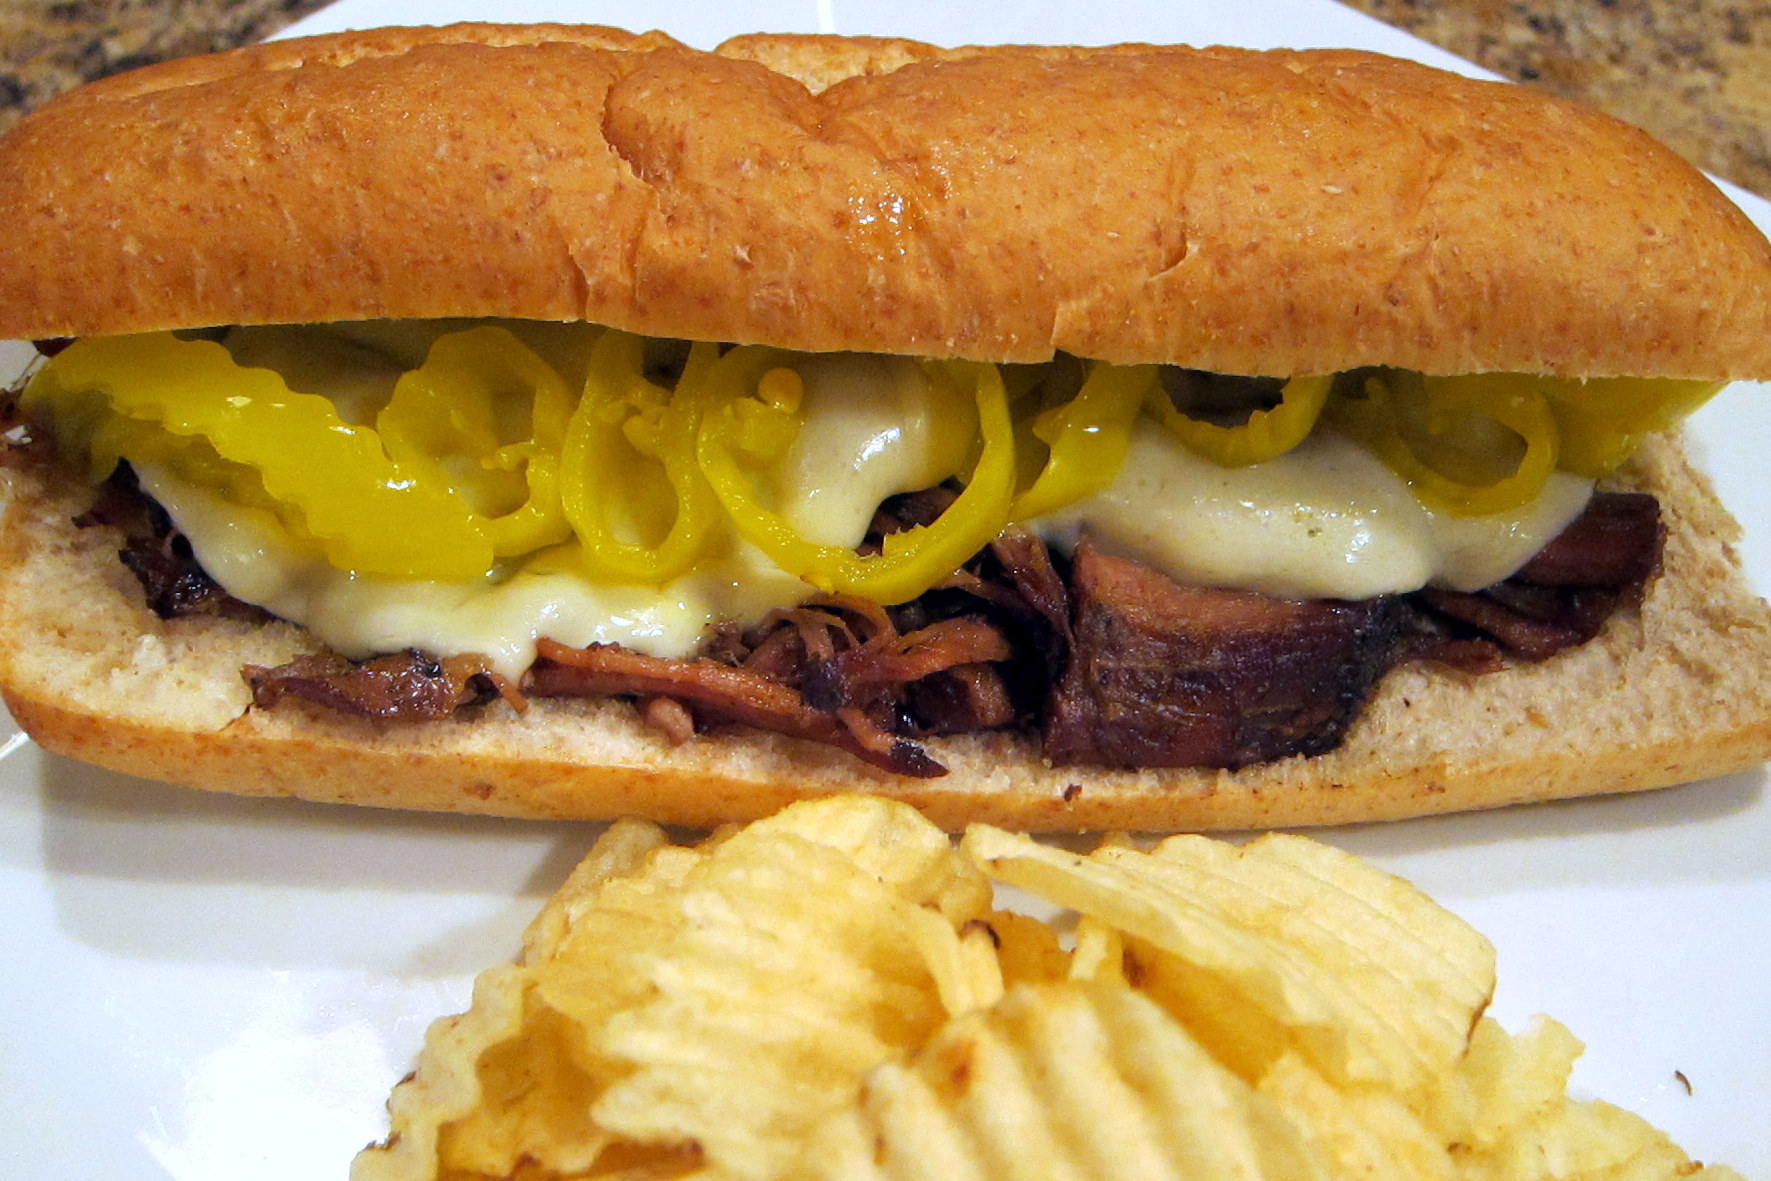 |
| Homemade Italian Beef |
 |
| Garlic Cheese Stuffed Burgers w/ Roasted Red Pepper Relish -Sorry for the blurry pic! |
|
| Quick snap-shot of our garlic cheese stuffed burgers sorry it's a little blurry... was rushing to eat! |
 |
| Banana Pudding |
| BANANA PUDDING Ingredients | |||||
| 1 (8 oz.) pkg cream cheese, room temperature 1 (14 oz.) can sweetened condensed milk 1 (5 oz.) pkg instant vanilla pudding mix 2 C Cold Milk 1 tsp Vanilla extract 1 (8 oz.) container frozen whipped topping, thawed 3-4 bananas, thinly sliced 1/2 (12 oz.) pkg Nilla wafers | |||||
| Directions In a large bowl, beat room temperature cream cheese until "creamy". Beat in sweetened condensed milk, pudding mix, cold milk, and vanilla until smooth. Fold in 1/2 of the thawed whipped topping. Line the bottom and sides of a 9 x 13 inch casserole dish with Nilla wafers. Top wafers with banana slices. Spread pudding mixture on top of banana layer. Top with remaining whipped topping. Refrigerate for a few hours before serving. I also like to top this dish with the remaining Nilla wafters (crushed) just before serving. ***Note, with 2 cups of milk, this will be a soft, firm-like dessert. If you desire a more "old fashioned" pudding consistance, add a total of 3 cups milk, instead of just 2 cups.*** | |||||
 |
| 1 (8 oz.) pkg cream cheese, room temperature 1 (14 oz.) can sweetened condensed milk 1 (5 oz.) pkg instant vanilla pudding mix 2 C Cold Milk 1 tsp Vanilla extract 1 (8 oz.) container frozen whipped topping, thawed 3-4 bananas, thinly sliced 1/2 (12 oz.) pkg Nilla wafers |


| BANANA PUDDING Ingredients | |||||
| 1 (8 oz.) pkg cream cheese, room temperature 1 (14 oz.) can sweetened condensed milk 1 (5 oz.) pkg instant vanilla pudding mix 2 C Cold Milk 1 tsp Vanilla extract 1 (8 oz.) container frozen whipped topping, thawed 3-4 bananas, thinly sliced 1/2 (12 oz.) pkg Nilla wafers | |||||
| Directions In a large bowl, beat room temperature cream cheese until "creamy". Beat in sweetened condensed milk, pudding mix, cold milk, and vanilla until smooth. Fold in 1/2 of the thawed whipped topping. Line the bottom and sides of a 9 x 13 inch casserole dish with Nilla wafers. Top wafers with banana slices. Spread pudding mixture on top of banana layer. Top with remaining whipped topping. Refrigerate for a few hours before serving. ***Note, with 2 cups of milk, this will be a soft, firm-like dessert. If you desire a more "old fashioned" pudding consistance, add a total of 3 cups milk, instead of just 2 cups.I also like to top this dish with the remaining Nilla wafters (crushed) just before serving. Gives it and extra ascetic "wow" factor.*** | |||||